PhotobucketPhotobucketPhotobucketPhotobucketPhotobucketPhotobucket

Tuesday, July 31, 2012

How We Make the Money Honey!!!

Today we are linking up over at The Bargain Blonde.  She has an awesome blog so go over there!!!  She is having a link up right now on how people make a living outside of blogging etc.

As you may or may not know there are two of us!

camie

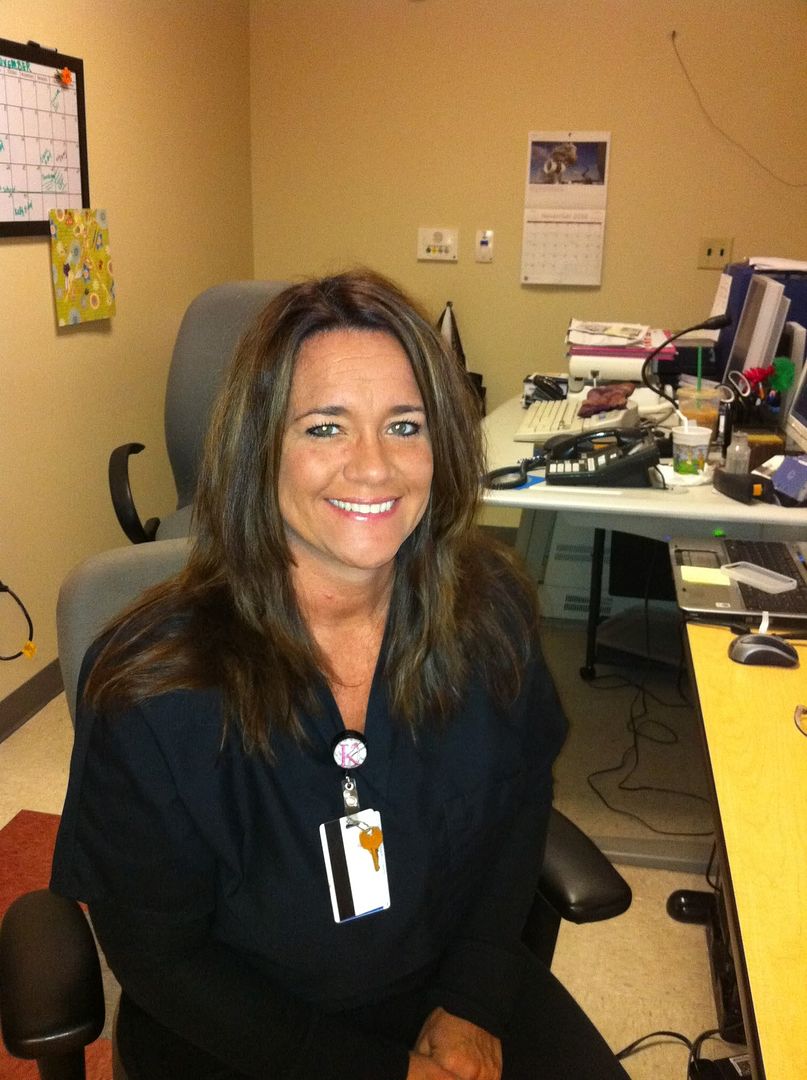
Camie and I save lives everyday. Yep the world really does need us! Seriously.  We both work in the Radiology Department at a surgical hospital in Denton TX.

Camie is MRI tech and I (Kristin) am an Ultrasound Tech.  We met at work and became instant friends and started Twist of Dazzle that we run after work.

We take our jobs very seriously as you can tell in the pictures.

camie1

photo(26)photo(25)

camie3

And if you haven’t had enough please enjoy the video

Hope you enjoyed! Please leave Camie a comment about her mad dancing skills!

Kristin and Camie

Sunday, July 29, 2012

Meet My Peeps!

So I think I will switch gears a little bit.  I (Kristin) have been out of commission with an injury.  So since I have about a thousand projects around the house started and NONE completed I will let you meet a few of my favorite peeps.  Today you get the pleasure of meeting my daughter Hannah.  Oh my sweet Hannah.  There are not enough words to describe Hannah.  She was born 10wks early and has been a handful since and we wouldn’t take her any other way. I will let the pictures tell most of the story.

This is how the last 12months have been around here with Hannah!

hannah

Hannah is the toughest girl I know! And through it all she does nothing but smile.  It has been a long hard year for her with harder diagnosis’. This is only some of the doctor visits she has had HA!

But she always bounces back!

hannah2

Hannah just turned 16! We are so proud of her and she makes us laugh everyday.

Kristin

Thursday, July 12, 2012

HELLO HELLO

Wow it has been a while, but we have sold our house and moved into our new one AND its livable.  I'm still decorating some rooms and getting things in place, but overall I can see the light at the end of the tunnel.  I will start a post soon about my new house, but I couldn’t wait to post about my NEW buffet that I redid this past weekend.  I am in LOVE.  This is my fourth dresser/buffet to re-do.  Post on the others:  Red Dresser, Living room buffet, Grey Dresser 

I bought this buffet off craigslist for $125 and I think it was totally worth it.  I love the detail on it.

a

I knew once we got moved, I would want to paint it, for some reason I think everything needs to be painted.  But I guess I just like color!!  I really wasn’t sure on what color to go with, but I was thinking something different that I haven't already done.  How about  Blue!   So I grabbed all the cans of Blue that I had,and tested them out.  (Maybe I should have gone with this look) Winking smile   But I decided on KRYLON Oxford Blue.

c016

I only sanded the top because it was a little rough, and then sprayed Kilz over the entire piece.   Then I lightly sanded it over, blew the dust off with my vacuum and wiped it down real good with a damp rag.

b

And now it was ready to paint!   The paint was really strong, pretty sure I got the entire neighborhood high. Winking smile

010

It took 3 bottles of spray paint to get the buffet good and covered.

                                                  First coat

e

                                        Third Coat

f

After I finished the painting, I felt like this piece had good details that needed to be enhanced.  I took my little sander and went over the buffet,  That’s Better!  hi

I used  furniture wax and a cloth and went over the buffet to seal it and give it shine. (please wipe all the dust off first)  I put the black designs back on the front of  cabinets, but first I used it as a stencil for the inside drawers, for fun.  Turned out cute!!!

014

All finished and moved  inside to the formal dinning room. 

m

no

More coming soon, maybe a dinning room table and some chairs.  YUP that’s right!!!

Camie

Linking up!

PrettyThingsThursday175pixHOG

Creations by Kara

Monday, June 18, 2012

Pinterest Project

I don’t have to tell anyone out there how awesome Pinterest is!  So I’m just surfing around one day and run into this awesome pic on a cute blog.  I knew right away I wanted to make it.  She gives a great tutorial so you don’t really need me to repeat all of it but I will share my process.

photo(10)

Just took a simple wood frame from a local retail store and painted the frame a base color then just taped it off so my stripes were even. After I taped it off I painted it again with the base color so it would seal the tape so the top color won’t bleed under the tape.

photo(9)photo(7)

Before the paint is all the way dry just take the tape off…LOVE!!

I cut some trim and painted it red and then just hot glued it to the frame and put ribbon and a cross on to finish it off

photo(3)

It’s a great addition to my office

Kristin


Wednesday, May 2, 2012

Hey it’s me Camie

Hello!  I'm still around.  Do you remember a while back I mentioned how we put our house on the market, so I wasn’t really working on projects?  Well, I still haven't  worked on any projects because I'm just not sure where I will put them when we move.  I found out tonight that we got an offer on our house.  YAY!!!  So hopefully it will work out, and we can get  the move on the road.  Unfortunately, we have not found a house to buy in the new city, but are kind of leaning on building again.  We can’ t find that perfect house for us to buy that is already built.  If we  end up building we will have to rent for a few months.  My kids are super excited and want us to move into an apartment, but let me tell you, I AM NOT EXCITED about going from 2800 sq. foot home to 1000 sq. foot apartment with a dog, 2 kids and a husband.  OHHH NO, I'm pretty sure I will flip a lid. 


++++++++++++++++++++++++++++++++++++++++++++++++++++++++++++++++++


Well, of course I saved this as a draft to go back and finish and since then things have changed.  WE did except the offer and we DID find us a New home already built.  We went on Tuesday and signed the papers, and if my house inspection goes good, we will be signing papers on the 6th and 7th of June for both houses.  WOW!  It did all happen really fast, but that’s great news, because we can get moved and settled before school starts.  So Twist of Dazzle will be taking a little break on making crosses , so I can get settled and ready for the busy Fall.   I’m really excited that this is a new home so I can start all over again on decorating and trying new things that I have pinned on Pinterest.  I have a lot of ideas spinning in my brain, so it should be a fun and stressful few months.. Winking smile

GOOD BYE OLD HOME!  IT’S BEEN A GREAT 7 YEARS. 

l03fca143-m0m[1]l03fca143-m2x[1]l03fca143-m8x[1]l03fca143-m14x[1]


HELLO NEW HOME!  WITH MANY YEARS TO COME!

l3f007243-m0m[1]l3f007243-m7m[1]l3f007243-m9m[1]l3f007243-m12m[1]


Camie

Saturday, April 14, 2012

Tuesday, April 10, 2012

Whoever said size doesn’t matter LIED!!

I have learned over the last three years of living in this house that I will NEVER be able to buy anything off the shelf at any store that will fit!!  My windows are all odd sizes so everything has to be custom.  That is why I have no blinds on most of the windows!!  I’m working on that one room at a time.  Well same goes with curtains.  All my curtains need to be at least 108”.  If you have ever looked at curtains online that long they pretty much break the bank!!

So one day I was walking around a large home décor store and on clearance for $9 were 96inch black blackout curtains!  I about had a heart attack.  9x3= pretty much free in my book for curtains! 

And listen people I DO NOT SEW!!!  So I had some black corduroy fabric just sitting in a box and some Heat and Bond ultrahold hem tape and the clouds parted and the rays of sunlight beamed down on me because I had just won the lottery (ok not really but it is definitely one of my proudest cheapest moments!)

photo 4photo(22)

See those cute arrows I made showing how short they are? Well I fixed that!

photo 1(1)photo 2(1)

I cut my fabric and then just put the heat and bond tape on the edge and flipped it over and ironed it.  How super simple is that.  I left one edge raw and did not “hem” it, since I had to attach it to the curtain.  I ironed that end to the bottom of the curtain just following the manufactures hemline so it would be straight.

photo 2 

Then up they went and they are awesome!!!

DSC_0001

Windows in the TV room have been PIMPED! (yes I know I need wood blinds)

Kristin